Top 5 Natural Hardwood Floor Cleaners Homemade
Why Choose Natural Hardwood Floor Cleaners?
Let’s face it – we all want our homes to be clean, but at what cost? Traditional floor cleaners often come packed with harsh chemicals that can be harmful to our health, our pets, and the environment. Not to mention, they can actually damage your beautiful hardwood floors over time!
Natural hardwood floor cleaners offer a fantastic alternative. Here’s why they’re a game-changer:
- Health Benefits: Say goodbye to toxic fumes and hello to clean air! Natural hardwood cleaners are free from harmful chemicals, reducing the risk of respiratory issues and skin irritations.
- Environmental Impact: By choosing eco-friendly solutions, you’re reducing the amount of harmful chemicals that end up in our waterways. Mother Earth will thank you!
- Floor Preservation: Natural cleaners are gentler on your hardwood floors, helping to maintain their natural oils and prevent damage over time. This means your floors will look gorgeous for years to come!
- Cost-Effective: Making your own cleaners can save you a bundle. Most ingredients are inexpensive and readily available in your pantry.
- Customizable: DIY cleaners allow you to adjust the formula to your liking. Want a specific scent? Just add your favorite essential oil!
By choosing natural floor cleaners, you’re not just cleaning your floors – you’re making a positive choice for your home, your health, and the planet. Now that’s what I call a win-win-win situation!

Essential Ingredients for Natural Hardwood Floor Cleaners
Ready to become a DIY cleaning maestro? Let’s explore the magical ingredients that will transform your cleaning routine:
- White Vinegar: The MVP of natural cleaning! Its acidity cuts through dirt and grime without damaging your floors.
- Water: Simple, yet essential. It dilutes other ingredients and helps spread the cleaning solution evenly.
- Castile Soap: This plant-based soap is gentle yet effective at lifting dirt.
- Essential Oils: Not just for aromatherapy! Many essential oils have antibacterial properties and leave a fresh scent.
- Olive Oil: It’s not just for cooking! A little olive oil can help condition and shine your hardwood floors.
- Lemon Juice: Nature’s deodorizer and disinfectant, plus it leaves a fresh, clean scent.
- Tea: Believe it or not, black tea can clean and shine your floors thanks to its tannic acid content.
- Baking Soda: Great for deep cleaning and tackling tough stains.
When working with these ingredients, remember:
- Always do a patch test in an inconspicuous area before using a new cleaner on your floors.
- Less is more! Use ingredients sparingly to avoid leaving residue.
- Keep solutions well-mixed, as natural ingredients can separate.
With these powerhouse ingredients in your cleaning arsenal, you’re all set to create effective, safe, and eco-friendly hardwood floor cleaners. Let’s get mixing!
DIY Recipe #1: Vinegar and Water Solution
Alright, let’s kick things off with the classic vinegar and water solution – the dynamic duo of DIY cleaning! This simple yet effective hardwood cleaner is perfect for routine cleaning and will leave your hardwood floors sparkling.
Here’s what you’ll need:
- 1 cup white vinegar
- 1 gallon warm water
- Optional: 2-3 drops of your favorite essential oil for fragrance
Mixing instructions:
- In a large bucket, combine the white vinegar with the warm water.
- If using, add a few drops of essential oil for a pleasant scent (lavender or lemon work great!).
- Stir the mixture gently to combine all ingredients.
Application tips:
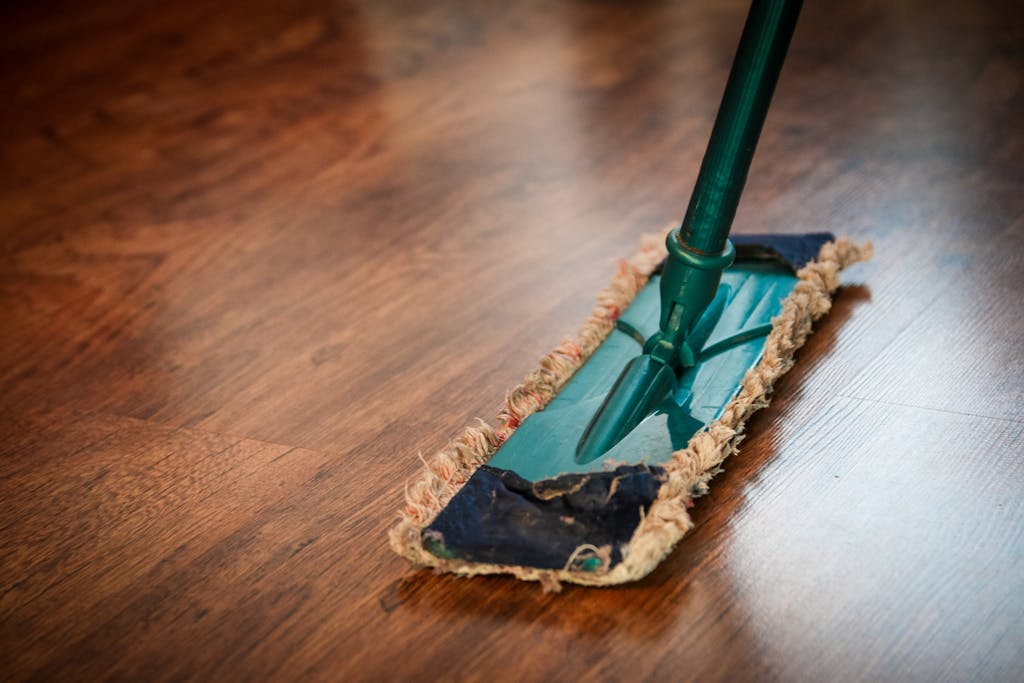
- Dip a mop or microfiber cloth into the solution, wringing out excess water. Remember, damp is good, soaking wet is not!
- Mop or wipe the floor in the direction of the wood grain.
- For stubborn spots, let the solution sit for a minute before gently scrubbing.
- Follow up with a clean, damp cloth to remove any residue.
Pro tips:
- Don’t overuse this cleaner – once a month is usually sufficient for most homes.
- Avoid using vinegar on waxed floors as it can strip the wax.
- Always use distilled white vinegar, not apple cider vinegar, which can stain.
There you have it! A simple, effective, and budget-friendly solution for keeping your hardwood floors clean and fresh. Give it a try and watch your floors shine!

DIY Recipe #2: Castile Soap and Essential Oil Cleaner
Ready to take your cleaning game up a notch? Let’s dive into our luxurious yet eco-friendly Castile Soap and Essential Oil cleaner. This gentle giant will leave your floors clean and your home smelling like a spa!
Ingredients:
- 1/4 cup Castile soap
- 1 gallon warm water
- 15-20 drops of essential oil (try a mix of lemon and tea tree for extra cleaning power!)
Mixing instructions:
- In a large bucket, add the Castile soap to the warm water.
- Add your chosen essential oils.
- Gently stir to combine, avoiding creating too many bubbles.
Application techniques:
- Dip a soft mop or microfiber cloth into the solution, wringing out excess water.
- Clean in the direction of the wood grain, using long, smooth strokes.
- For high-traffic areas, you may need to go over the area twice.
- Follow up with a clean, damp cloth to remove any soap residue.
Best practices:
- Always use pure Castile soap, not Castile soap that already contains essential oils.
- Don’t oversaturate your floors – a little goes a long way!
- Rinse your mop or cloth frequently in clean water to avoid spreading dirt around.
Remember, the key to using soap-based cleaners is to avoid leaving any residue. A quick once-over with a damp cloth after cleaning will ensure your floors are left clean, not sticky. Happy cleaning!
DIY Recipe #3: Tea-Based Hardwood Floor Cleaner
Believe it or not, your morning cuppa can do more than just wake you up – it can also clean your floors! This tea-based cleaner is a gentle yet effective solution that will leave your hardwood floors looking rich and lustrous.
Ingredients:
- 4-5 bags of black tea (or 2 tablespoons loose leaf tea)
- 1 gallon of boiling water
Brewing instructions:
- Boil a gallon of water in a large pot.
- Add the tea bags or loose leaf tea and let it steep for about 10-15 minutes.
- Remove the tea bags or strain the loose leaf tea.
- Allow the tea to cool to room temperature before use.
Application tips:
- Dip a soft cloth or mop into the cooled tea solution, wringing out excess liquid.
- Clean the floor in the direction of the wood grain.
- For extra shine, buff the floor with a dry microfiber cloth after cleaning.
Why tea works: The tannic acid in black tea is a natural cleaning agent that can remove dirt and grime. Plus, it adds a subtle shine to your floors and can even help disguise minor scratches on darker wood.
Pro tips:
- This method works best on darker woods, as it may slightly darken lighter woods over time.
- Always test in an inconspicuous area first.
- Don’t add any sugar or milk to this tea, folks! We’re cleaning floors, not making a latte!
Using this tea-based cleaner is like giving your floors a refreshing spa day. They’ll look rejuvenated, and your home will have a subtle, pleasant aroma. Time to put the kettle on!
DIY Recipe #4: Olive Oil and Lemon Juice Polish
Get ready to give your hardwood floors some serious TLC with this nourishing Olive Oil and Lemon Juice Polish. This dynamic duo not only cleans but also conditions your wood, leaving it with a beautiful, natural sheen.
Ingredients:
- 1/4 cup olive oil
- 1/4 cup freshly squeezed lemon juice
- 1/4 cup hot water
Mixing method:
- In a spray bottle or small bowl, combine the olive oil, lemon juice, and hot water.
- Shake well or whisk to emulsify the ingredients.
Application techniques:
- Shake the mixture before each use to recombine the ingredients.
- Apply a small amount to a soft cloth or mop (remember, less is more!).
- Work in small sections, rubbing the polish into the wood in the direction of the grain.
- Follow up with a clean, dry cloth to buff the floor and remove any excess oil.
Why it works:
- Olive oil nourishes and conditions the wood, helping to prevent cracks and maintain its natural beauty.
- Lemon juice acts as a natural disinfectant and leaves a fresh, clean scent.
- The combination helps to repel dust and add a subtle shine to your floors.
Cautionary tips:
- Use this polish sparingly – about once a month or less for most homes.
- Always test in an inconspicuous area first to ensure it doesn’t darken your specific wood type.
- Be careful not to over-apply, as too much oil can make floors slippery and attract dirt.
This Olive Oil and Lemon Juice Polish is like a nutrient-packed smoothie for your floors. They’ll drink it up and thank you with a beautiful, healthy glow. Your hardwood will be ready for its close-up!
DIY Recipe #5: Baking Soda Deep-Cleaning Solution
When your hardwood floors need a little extra oomph, it’s time to break out the baking soda! This deep-cleaning solution is perfect for tackling tougher dirt and grime without resorting to harsh chemicals.
Ingredients:
- 1/4 cup baking soda
- 1 tablespoon Castile soap
- 1 gallon hot water
- Optional: 5-10 drops of your favorite essential oil
Mixing instructions:
- In a large bucket, dissolve the baking soda in the hot water.
- Add the Castile soap and essential oil (if using).
- Stir gently to combine all ingredients.
Application method:
- Dip a soft mop or microfiber cloth into the solution, wringing out excess water.
- Clean the floor in sections, following the wood grain.
- For stubborn spots, let the solution sit for a minute before gently scrubbing.
- Follow up with a clean, damp cloth to remove any residue.
- Dry the floor with a clean towel to prevent water damage.
When to use: This solution is ideal for periodic deep cleaning, especially in high-traffic areas or when your floors have accumulated stubborn dirt or grime. It’s not for everyday use!
Cautionary tips:
- Always test in an inconspicuous area first.
- Don’t let the solution sit on the floor for too long, as excess moisture can damage wood.
- Avoid using this method on waxed floors, as it may strip the wax.
- Use sparingly – once every few months is usually sufficient.
Remember, while baking soda is a fantastic natural cleaner, it can be abrasive if used too frequently on hardwood. Think of this as a special treatment for your floors, not a daily cleanse. Used correctly, this deep-cleaning solution will have your hardwood floors looking like new!
Application Tips and Best Practices
Now that you’re armed with an arsenal of natural cleaning solutions, let’s talk about how to use them like a pro. Follow these tips and best practices to keep your hardwood floors looking their best:
- Choose the Right Tools:
- Microfiber mops or cloths are your best friends – they clean effectively without scratching.
- Avoid sponge mops, which can push dirty water into wood grain and crevices.
- For DIY sprays, use a fine mist sprayer to avoid oversaturating the floor.
- Less is More:
- Always wring out your mop or cloth until it’s just damp, not wet.
- Excess water is the enemy of hardwood floors!
- Go with the Grain:
- Clean in the direction of the wood grain to prevent streaks and ensure a thorough clean.
- Spot Clean Spills Immediately:
- Don’t let spills sit – wipe them up right away to prevent staining or warping.
- Regular Maintenance:
- Sweep or vacuum regularly to prevent dirt and grit from scratching your floors.
- Use doormats at entrances to catch dirt before it gets to your hardwood.
- Avoid Harsh Tools:
- Say no to scrub brushes, steel wool, or abrasive cleaning pads on your hardwood.
- Test First:
- Always test new cleaning solutions in an inconspicuous area before using them on the entire floor.
- Frequency Matters:
- Deep clean only when necessary – usually every few months.
- For regular cleaning, a simple sweep and damp mop with water is often enough.
- Mind the Temperature:
- Avoid cleaning with very hot water, which can damage the wood over time.
- Finish with a Dry Pass:
- After cleaning, go over the floor with a dry microfiber cloth to pick up any remaining moisture.
Remember, the goal is to clean your floors gently and effectively without causing any damage. With these tips in mind, you’ll be a hardwood floor cleaning expert in no time! Your floors will thank you with years of beautiful, lasting shine.
Troubleshooting Common Issues
Even with the best intentions and natural cleaners, sometimes things don’t go quite as planned. Don’t worry – we’ve got you covered! Here are some common issues you might encounter and how to fix them:
- Streaky Floors:
- Cause: Too much cleaner or not rinsing thoroughly.
- Solution: Go over the floor with a clean, damp cloth to remove excess cleaner. In the future, use less product and rinse your mop frequently.
- Cloudy Residue:
- Cause: Build-up of product over time.
- Solution: Clean with a mixture of equal parts water and white vinegar to cut through the residue. Rinse well with clean water.
- Dull Finish:
- Cause: Over-cleaning or using the wrong products.
- Solution: Try the olive oil and lemon juice polish to restore shine. In the future, clean less frequently with gentler solutions.
- Water Spots:
- Cause: Water left standing on the floor.
- Solution: Buff out minor spots with a soft, dry cloth. For stubborn spots, try a bit of mineral oil on a cloth.
- Sticky Floor:
- Cause: Soap residue left behind.
- Solution: Rinse the floor with clean water and a damp cloth to remove the residue. Always follow up soap-based cleaners with a clean water rinse.
- Stubborn Stains:
- For food stains: Make a paste with baking soda and water, gently rub on the stain, then clean as usual.
- For pet stains: Blot with a mixture of equal parts water and white vinegar, then clean as usual.
- For ink stains: Dab with a cloth dampened with rubbing alcohol, then clean as usual.
- Scratches:
- For light scratches: Try rubbing the scratch with a walnut (yes, really!). The oils can help disguise minor scratches.
- For deeper scratches: You might need to use a wood filler that matches your floor color.
Remember, if you’re dealing with severe damage or deep-set stains, it might be time to call in the professionals. Don’t risk further damage to your beautiful hardwood floors!
Pro Tip: Keep a cleaning diary! Note which cleaners you use and how often. This can help you track what works best for your specific floors and troubleshoot any issues that arise.
With these troubleshooting tips, you’ll be ready to tackle any cleaning challenge that comes your way. Here’s to keeping those hardwood floors looking fabulous!


