My Favorite Tips for Deep Pantry Organization
Organizing a Deep Pantry: 10 Game-Changing Hacks for 2024
Ah, the deep pantry – a blessing and a curse, am I right? As someone who’s battled the chaos of a jam-packed, deep pantry, I feel your pain. It’s so easy for items to get lost in those shadowy depths. But guess what? I’ve cracked the code! Did you know that the average American wastes 31% of the food they buy, often due to poor organization? Yikes! But don’t worry, I’m here to share my favorite tips that’ll transform your deep pantry from a black hole of forgotten cans and expired goods to a Pinterest-worthy storage dream. Let’s dive into some smart deep pantry organization and make 2024 the year of the organized pantry!
The Zone System for a Deep Pantry: Divide and Conquer
Listen up, fellow pantry warriors! The zone system is about to become your new best friend. Trust me, I’ve been there – staring into the abyss of a deep pantry, wondering where on earth I put those chickpeas. But once I implemented zones, it was like a light bulb moment!
Start by dividing your pantry into clear, logical zones. Think breakfast foods, baking supplies, canned goods, snacks, and so on. This way, when you’re in a rush to whip up pancakes, you know exactly where to look.
Here’s the kicker: implement a “first in, first out” (FIFO) rotation system within each zone. It’s simple – new items go to the back, older items stay in front. No more finding expired cans hiding in the depths!
Pro tip: Use shelf risers or stackable containers to create clear boundaries between zones. It’s like giving each food group its own little apartment complex. Trust me, your future self will thank you when you’re not elbow-deep in pasta trying to find the rice!
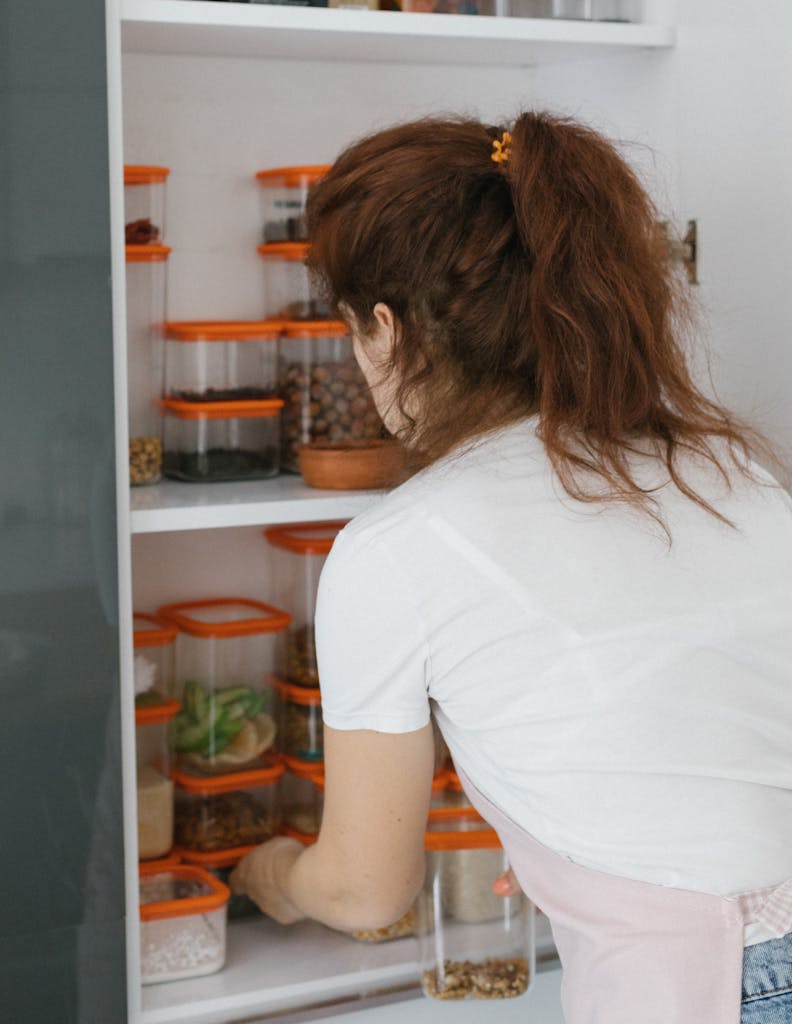
2. Clear Containers: The Magic of Visibility
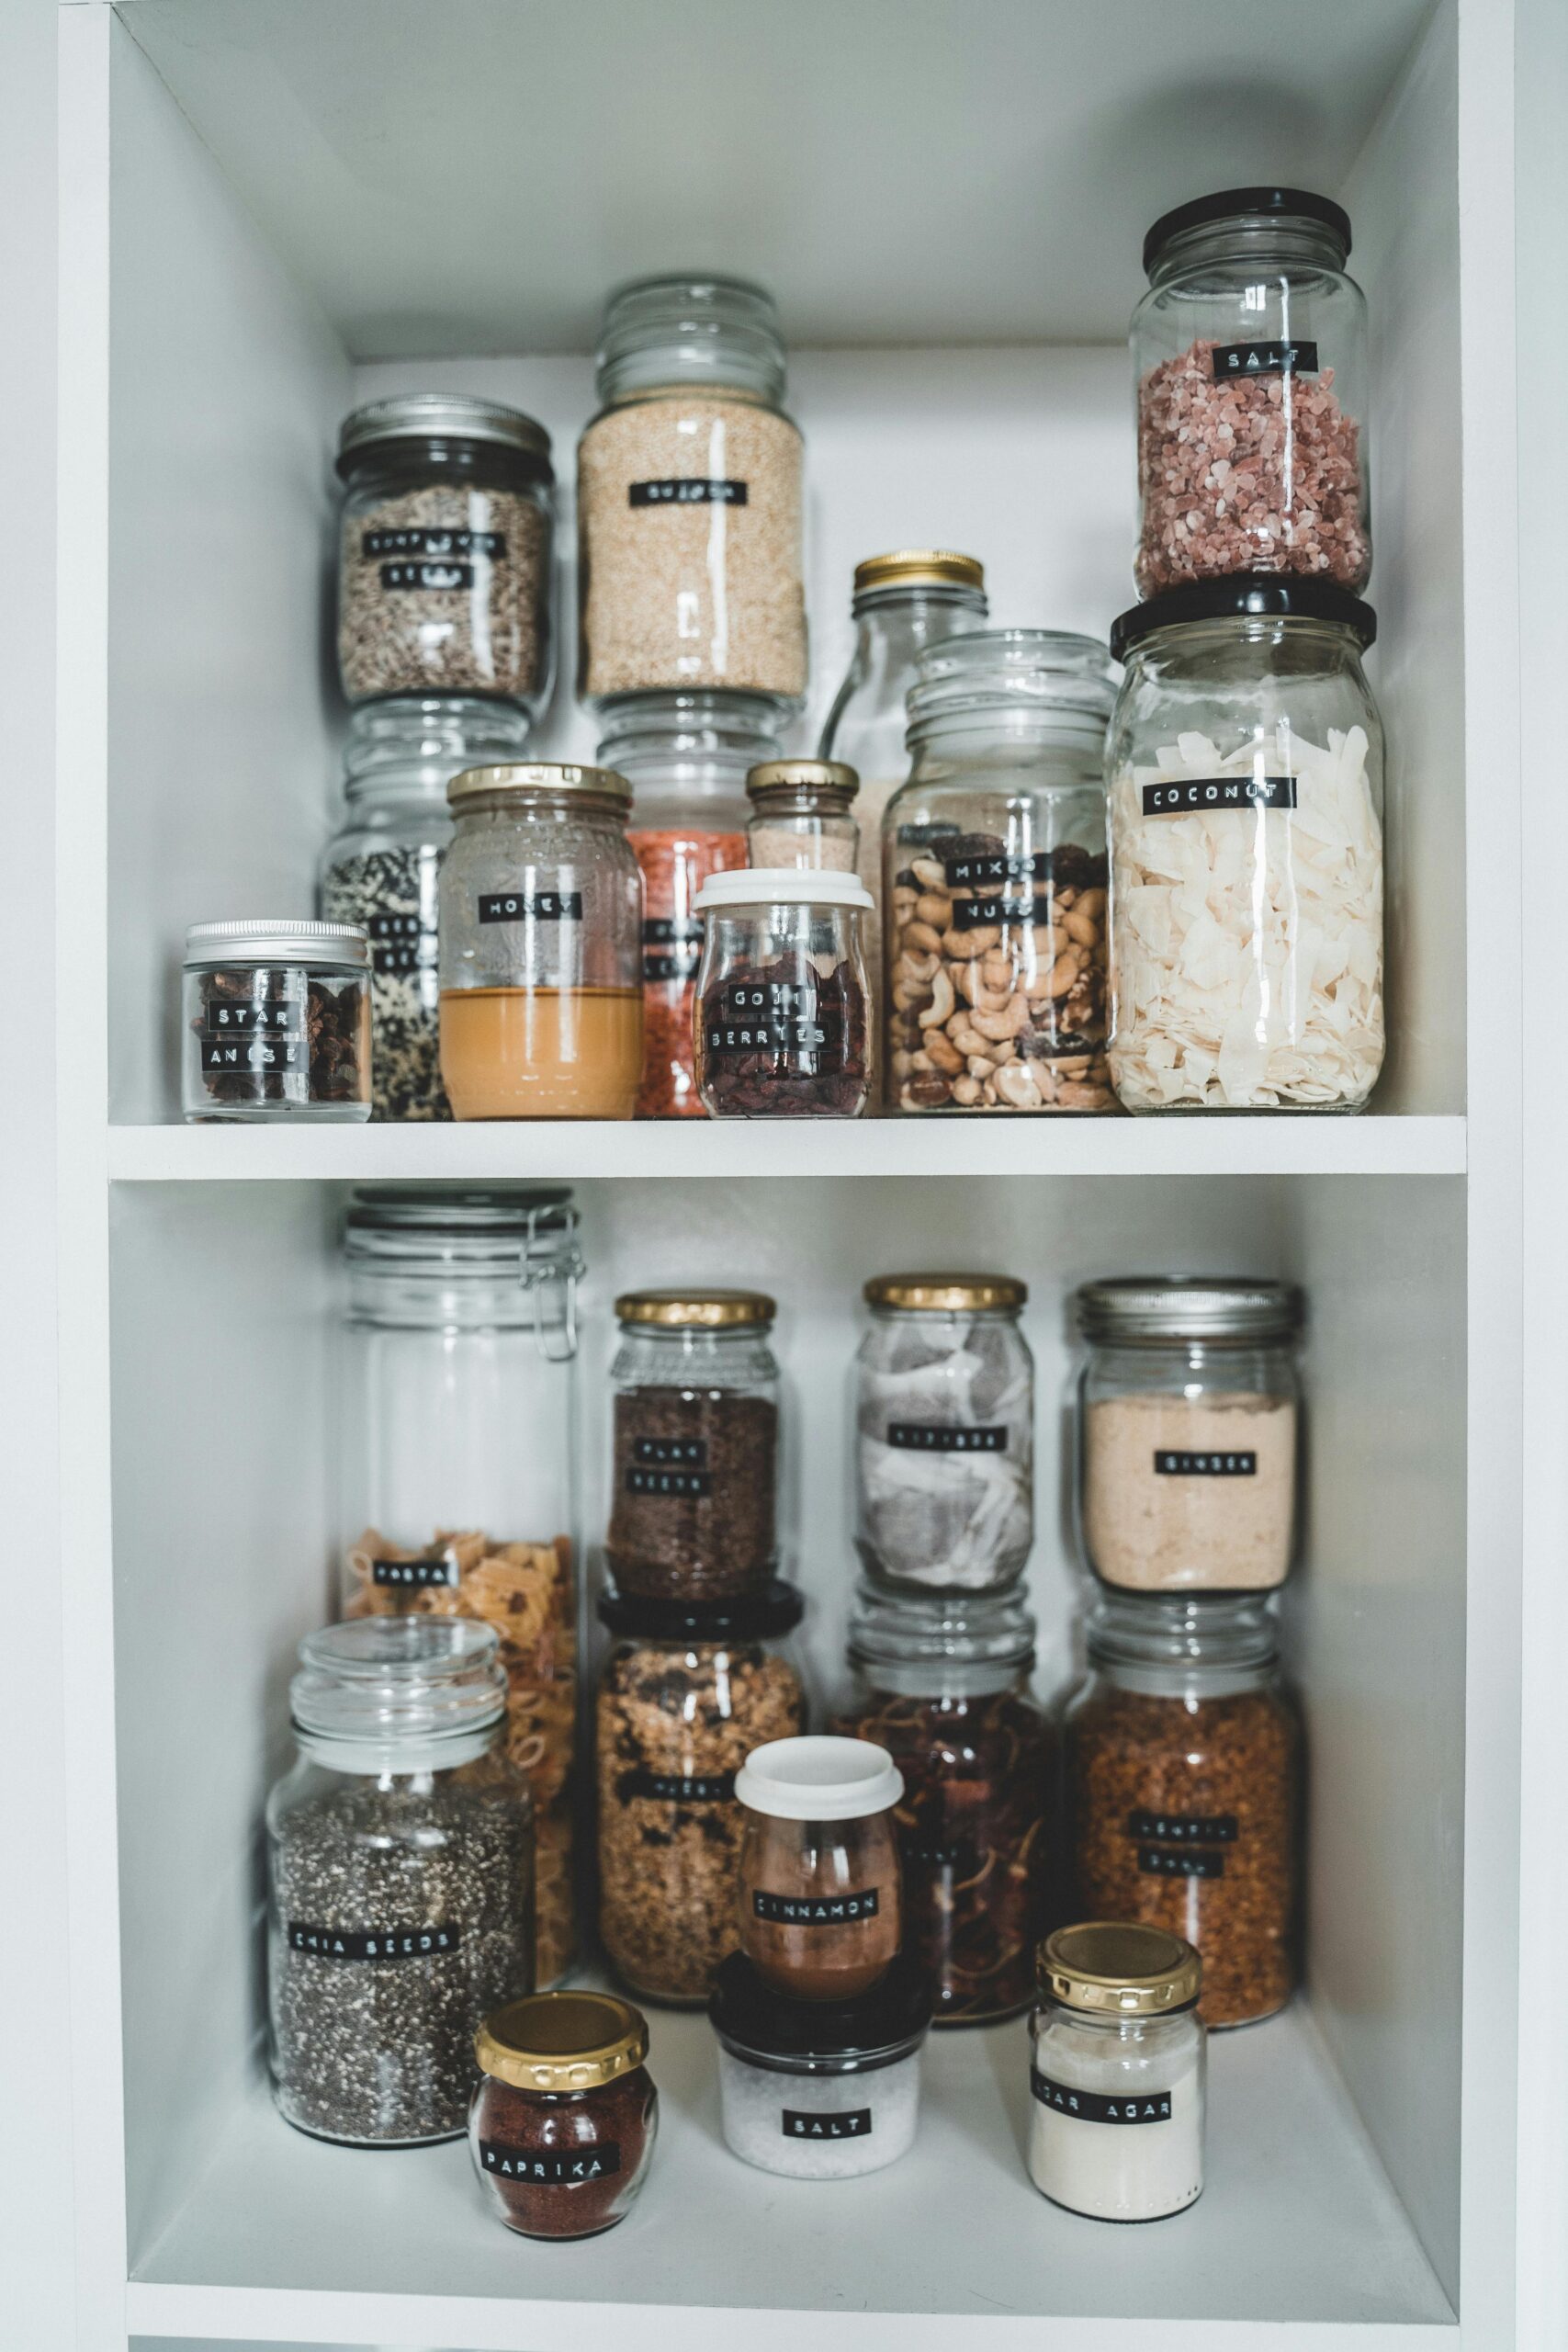
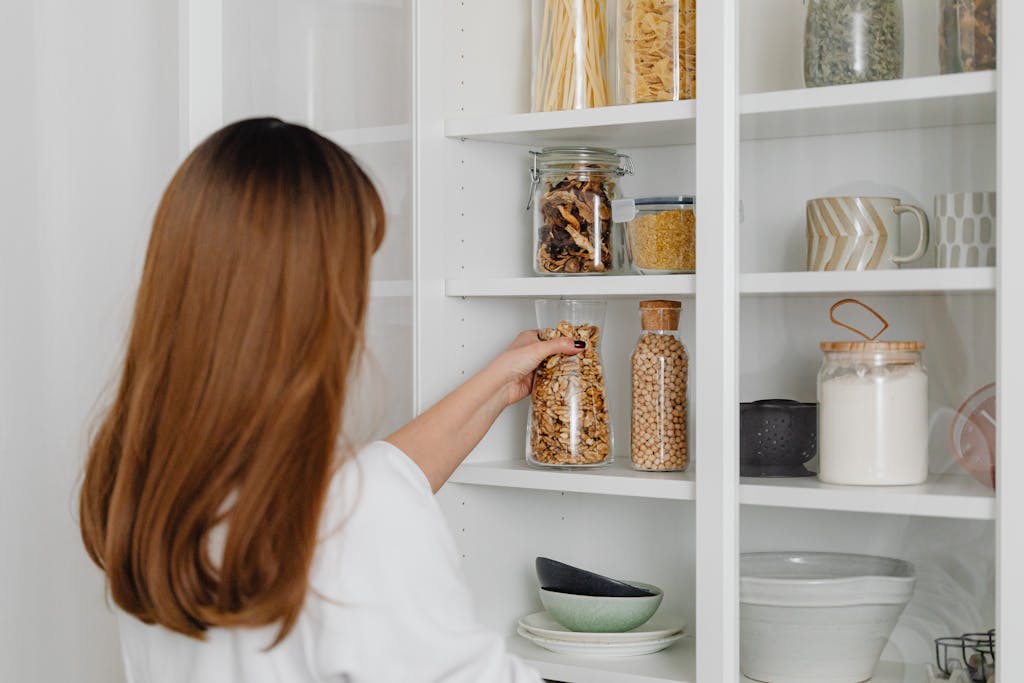
Okay, let’s talk about my pantry game-changer: clear containers. Picture this: you open your pantry, and instead of a mishmash of half-open bags and boxes, you see neat rows of clear containers showcasing all your goodies. It’s like your own little grocery store!
Transferring dry goods like flour, sugar, cereals, and pasta into clear containers isn’t just aesthetically pleasing (hello, Instagram-worthy pantry!), it’s practical too. You can see at a glance what you have and how much is left. No more buying a fifth bag of rice because you couldn’t see the other four hiding in the back!
I’m a fan of airtight, BPA-free containers with wide mouths for easy scooping. And here’s a labeling tip that’s changed my life: use a chalk marker on the container itself. It looks cute and it’s easy to update when you switch contents. Just remember to include the expiration date – future you will be grateful!
3. Lazy Susans: Spin Your Way to Organization
Let me introduce you to the unsung hero of deep pantry organization: the lazy Susan. These spinning wonders are like having your own personal assistant in the pantry. No more awkward reaching or knocking things over – just give it a spin and voila! Everything’s at your fingertips.
Lazy Susans are perfect for those annoying corner spaces or deep shelves where items tend to get lost. I use mine for oils, vinegars, and sauces. It’s so satisfying to spin and grab exactly what I need when I’m in the middle of cooking.
You can buy fancy lazy Susans, but honestly, I’ve had great success with affordable options from discount stores. Or, if you’re feeling crafty, why not make your own? A piece of wood and some ball bearings, and you’ve got yourself a custom lazy Susan. Just call me the DIY queen of pantry organization!
4. Vertical Space Maximizers: Up, Up, and Away!
When it comes to deep pantries, think vertical! There’s so much unused space just waiting to be optimized. It’s time to channel your inner skyscraper architect and build up, not out.
First up: over-the-door organizers. These babies are perfect for lightweight items like spice packets, gravy mixes, or even small snack bags. I hung one on my pantry door, and suddenly I had an extra shelf’s worth of storage. Magic!
Next, consider installing adjustable shelving. This was a game-changer in my pantry. Now I can customize the height between shelves based on what I need to store. Tall cereal boxes? No problem. Short cans? I’ve got a shelf for that too.
And here’s a hack I stumbled upon that blew my mind: use tension rods to create vertical storage for baking sheets and cutting boards. Just pop a few tension rods in vertically, and suddenly you’ve got divided spaces perfect for storing these awkward items upright. It’s like filing, but for your kitchenware!
5. Can Organizers: Tame the Tin Jungle
Ah, canned goods – the staple of every pantry and the bane of every organizer’s existence. But fear not! I’ve cracked the code on corralling these cylindrical troublemakers.
Can organizers are your secret weapon here. There are tons of options out there, from simple stackable shelves to more elaborate tiered systems. I personally love the ones that let you stack cans while still being able to see what’s behind them. It’s like stadium seating for your tomato sauce!
On a budget? No worries! One of my favorite DIY solutions is using magazine holders turned on their sides. They’re perfect for holding cans, and you can easily label the front. Plus, it’s a great way to upcycle those old office supplies.
Remember, when organizing cans, always keep similar items together and place newer cans behind older ones. It’s all about that FIFO life, baby!
6. Basket Bonanza: Corralling Chaos
Baskets are the unsung heroes of pantry organization. They’re like little corrals for your food, keeping everything neat and tidy. Plus, they add a touch of style to your pantry. Who says organization can’t be cute?
I use baskets to group similar items together. All my baking chocolates go in one basket, nuts and seeds in another, and so on. It’s so satisfying to pull out a single basket instead of rummaging through the whole pantry.
Labels are key here, folks. I use cute chalkboard labels on my baskets, but even a simple paper tag works wonders. Trust me, you don’t want to play the “guess what’s in this basket” game when you’re in the middle of cooking.
As for materials, I’m a fan of wire baskets for ventilation, especially for storing onions and potatoes. But plastic ones work great too, especially if you’re dealing with small items that might slip through wire gaps.
7. The Snack Station: Kid-Friendly Organization
Parents, this one’s for you! (And let’s be honest, for the kid in all of us.) Creating a designated snack zone has been a total game-changer in my house. No more cries of “Mom, I can’t find the snacks!” echoing through the house.
I use clear, stackable containers to store individual portions of snacks. Not only does this make it easy for kids to grab and go, but it also helps with portion control. Win-win!
Pro tip: rotate your snacks regularly to keep things interesting. I like to mix it up with a combination of healthy options and treats. And here’s a little secret – I sometimes hide the less healthy options behind the fruit and veggie snacks. Sneaky? Maybe. Effective? Absolutely!
8. Spice Organization: Flavor at Your Fingertips
Let’s spice things up, shall we? A well-organized spice collection is the secret weapon of any good cook. But in a deep pantry, those little jars can easily get lost in the shuffle.
I’m a big fan of tiered spice racks that fit right into the pantry. They’re like tiny amphitheaters for your seasonings, letting you see everything at a glance. No more buying your fifth jar of cumin because you couldn’t see the other four!
Now, the big debate: alphabetical order or organized by cuisine? Personally, I’m team alphabetical. It makes finding what I need a breeze, especially when I’m in the middle of cooking and don’t want to waste time hunting for that elusive za’atar.
Here’s a game-changing tip: decant your spices into uniform jars. Not only does it look aesthetically pleasing, but it also saves space and keeps everything fresh. Just don’t forget to label them clearly – nobody wants a surprise cayenne pepper when they’re expecting cinnamon!
9. The Inventory System: Never Run Out Again
Picture this: you’re all set to make your famous chili, only to discover you’re out of kidney beans. Frustrating, right? That’s where a good inventory system comes in handy. Trust me, it’s not as boring as it sounds!
I use a simple app on my phone to keep track of what’s in my pantry. Every time I use something up, I quickly remove it from the list. It’s like having a personal assistant managing your pantry!
There are plenty of apps out there, but even a simple spreadsheet can do the trick. The key is to find a system that you’ll actually stick to. For me, the ability to share the list with my partner was a game-changer – no more duplicate purchases!
And here’s my favorite part: set up a restock alert system. When you’re running low on a staple item, you get a friendly reminder to add it to your shopping list. It’s like your pantry is texting you!
10. Deep Clean and Maintain: Keeping the System Alive
Alright, you’ve organized your pantry and it looks amazing. But how do you keep it that way? The secret is in regular maintenance. Don’t worry, I’m not talking about a daily deep clean – ain’t nobody got time for that!
I schedule a quick 15-minute pantry check-in every Sunday. I rotate items, wipe down shelves if needed, and make note of anything that needs restocking. It’s become a bit of a zen moment in my week – just me and my beautifully organized pantry.
Once a season, I do a deeper clean. This is when I check expiration dates, wipe down containers, and reassess my organization system. It’s also a great time to donate any non-perishables you know you won’t use.
Remember, a little effort goes a long way. Keep up with these small tasks, and you’ll never have to face a pantry overhaul again. Your future self will thank you when you’re effortlessly pulling together meals from your perfectly organized pantry!