Declutter Your Room with These Simple Steps for a Fresh Start
Feeling overwhelmed by clutter? Discover simple steps to declutter your room efficiently! Transform your space into a serene sanctuary with practical tips that anyone can follow.
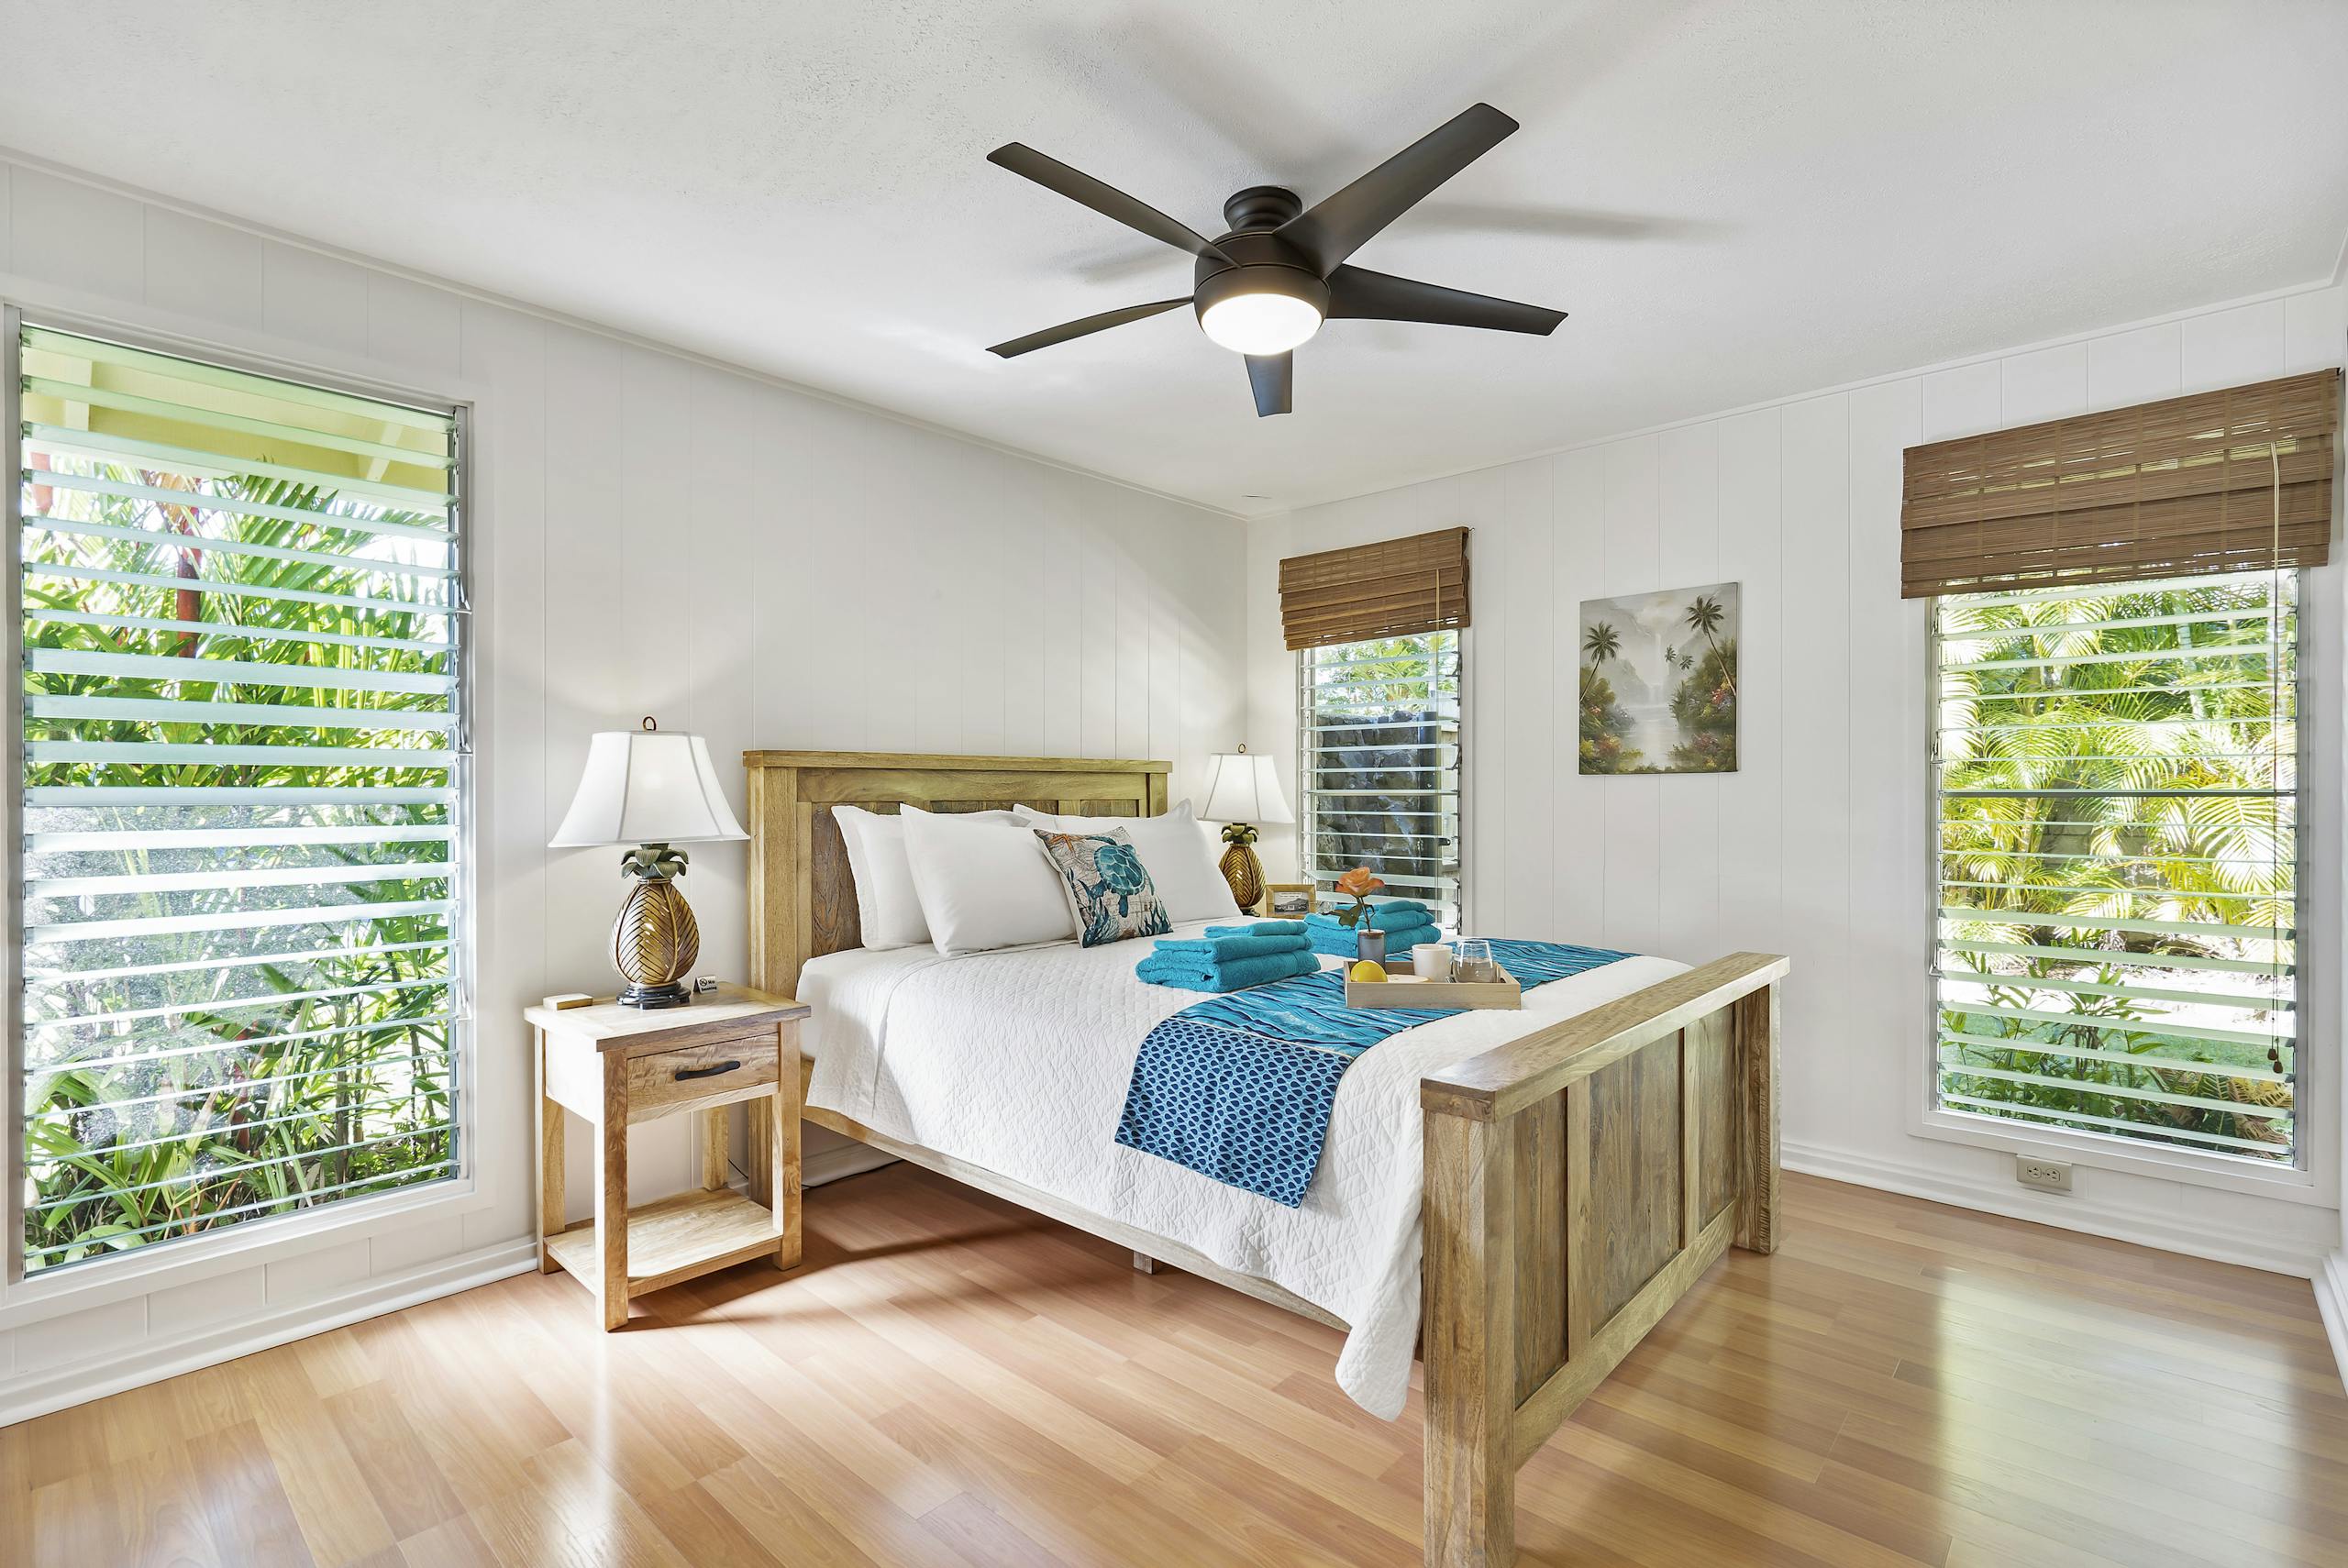
Have you ever walked into your room and felt like you were entering a chaotic zone instead of your personal sanctuary? You’re not alone! Studies show that a cluttered environment can lead to increased stress and decreased productivity. I remember my first attempt at decluttering; it was like uncovering a hidden treasure once I cleared the chaos! In this guide, I’ll walk you through simple steps to declutter your room, helping you create a more organized and calming space. Let’s dive in!
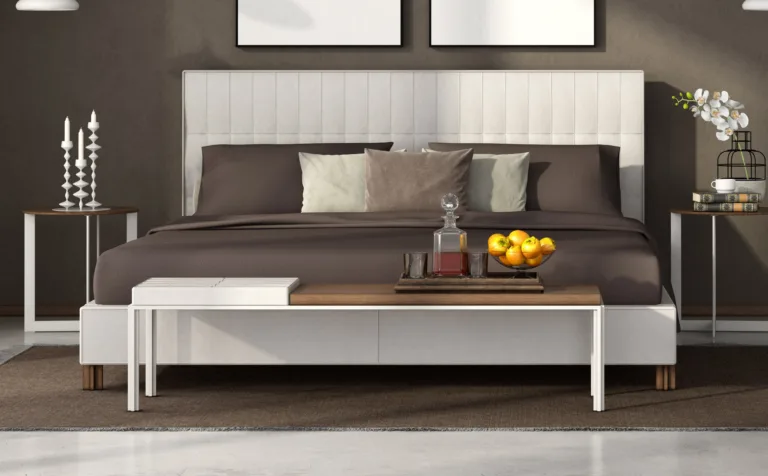
Start with a Clean Slate
- Remove everything from surfaces like desks, dressers, and nightstands.
- Wipe down all surfaces to create a fresh working space.
- Sort items into three categories: keep, donate, and throw away.
Alright, let’s kick off your decluttering journey by starting with a clean slate. It might sound like a cliché, but trust me, this step is crucial! I remember when I decided to tackle my own clutter; I felt like I was standing at the base of a mountain. But once I got going, the transformation was incredible. Here’s how to do it:
First things first, remove everything from your surfaces—yes, I mean everything! Clear off your desk, dresser, nightstands, and any other flat surfaces that have become catch-all spots for junk. This part can feel a bit overwhelming at first, like a chaotic whirlwind of stuff. I usually grab a big box or laundry basket and just start tossing things in. Papers, knick-knacks, old receipts—you name it! Just don’t overthink it. You can sort through it all in a moment.
Once everything is off those surfaces, it’s time to give them a good wipe down. Seriously, you’d be amazed at what you’ll find lurking underneath that stack of books or that forgotten coffee cup! Dust, crumbs, and who knows what else can accumulate in those hidden corners. I love using an all-purpose cleaner for this—spray it on, wipe it down, and voilà! You’ll instantly feel like you’ve created a fresh canvas to work with. It’s almost therapeutic, and I always find myself breathing a little easier once the surfaces are clean and shiny.
Now comes the fun part: sorting through all those items you pulled off your surfaces. Grab three boxes or bags and label them “Keep,” “Donate,” and “Throw Away.” As you go through your stuff, ask yourself some important questions: Does this item spark joy? Do I really need it? When was the last time I used this? It might sound a bit silly, but I promise this little introspection can help you make better decisions.
For items in the Keep pile, think about where they’ll go in your newly cleaned space. Make sure you have a designated spot for each item so that you can keep things organized moving forward. As for the Donate pile, look for places in your community where you can drop off gently used items. And let’s be honest—those items in the Throw Away pile? They’ve had their time to shine. It’s time to say goodbye and let them go!
By the time you finish this step, you’ll not only have clear surfaces but also a clearer mind. You’ve set yourself up for a successful decluttering journey, and I promise it’ll feel fantastic. Now that your space is fresh and ready, let’s dive into the next steps of organizing and optimizing your room!
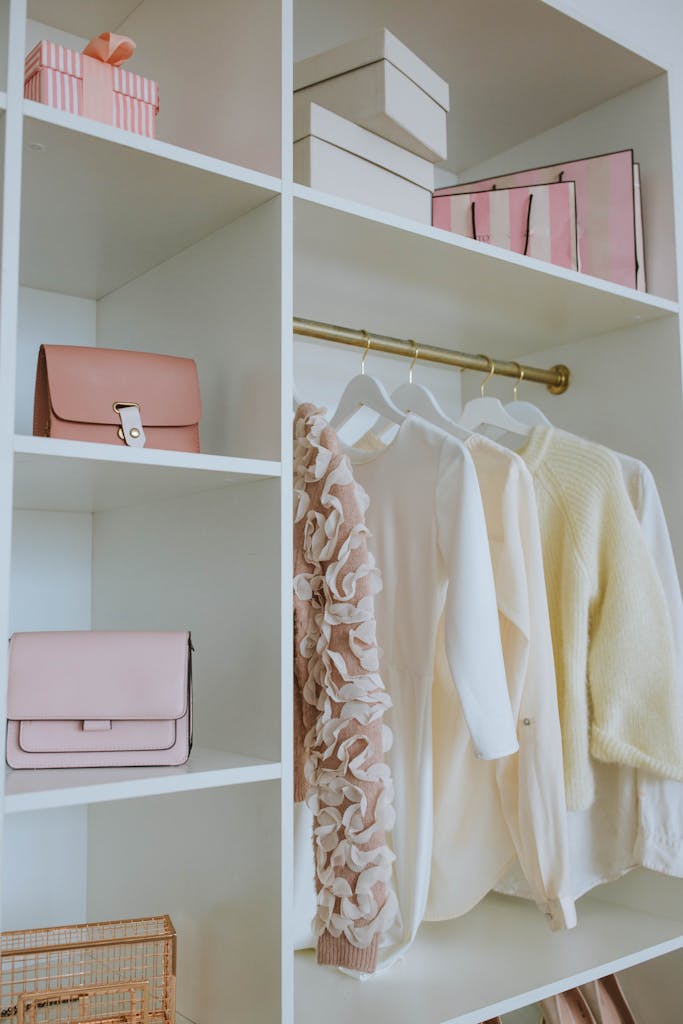
Declutter Your Closet
- Take out all clothing and evaluate each piece.
- Apply the “three-month rule”—if you haven’t worn it in the last three months, consider letting it go.
- Organize clothes by category (e.g., tops, bottoms, outerwear) or color for easier access.
Ah, the closet—our little sanctuary of style and sometimes, a black hole of chaos. If you’re anything like I used to be, your closet might feel more like a war zone than a wardrobe. There’s something truly cathartic about decluttering it, though, and I can’t wait to share how to do it effectively!
First things first, let’s tackle the task of taking out all your clothing. Yes, all of it! I remember the first time I attempted this. I pulled everything out of my closet and laid it across my bed, and honestly, it felt a bit like an avalanche of fabric. There were shirts from college, dresses I had worn once, and even that sweater that had gone out of style three seasons ago. It was eye-opening to see everything I owned in one place. This visual explosion is a critical first step because it allows you to assess exactly what you have and how much of it is actually you.
Once you’ve got your clothes out, it’s time to evaluate each piece. This is where the three-month rule comes into play. If you haven’t worn something in the last three months, it’s a good indication that you might not need it anymore. Now, I know it can be tough to let go of certain items. I once clung to a pair of high-waisted shorts, convinced that I would wear them again one day. But after three months of them sitting unworn, I finally realized they were just taking up space. Letting them go felt like shedding an old skin—it was liberating!
As you evaluate your clothing, ask yourself: Does this piece fit well? Does it make me feel good? Am I holding onto it out of guilt? Remember, the goal here is to create a closet that reflects your current self, not your past self. If you find something that you absolutely love but haven’t worn in a while, consider if it still fits your style and lifestyle. If not, it might be time to bid it farewell.
Now, let’s talk about organizing your closet after you’ve decluttered. This is where the fun begins! You can choose to organize by category—grouping your tops, bottoms, outerwear, and maybe even accessories together. I find this method incredibly helpful because it allows me to see what I have at a glance. On the other hand, organizing by color adds a delightful visual appeal. When my closet is organized by a spectrum of hues, it feels like walking into a candy store, and it can even spark joy each time I open the door.
As you hang or fold your clothes back into the closet, consider investing in matching hangers for a streamlined look. I switched to slim, velvet hangers a while back, and they not only save space but also keep my clothes from slipping off. Plus, it’s an easy upgrade that instantly elevates the whole vibe of the closet!
Once you’ve organized your closet, take a moment to stand back and admire your hard work. The sense of accomplishment is palpable! You’ve not only created a space that is easier to navigate but also one that truly reflects who you are today.
Decluttering your closet is more than just organizing; it’s about embracing a lifestyle that values simplicity and intention. Now that your closet is on point, you’ll be able to select outfits with ease and enjoy the calming effect of a clutter-free space. Here’s to many happy and stylish mornings ahead!
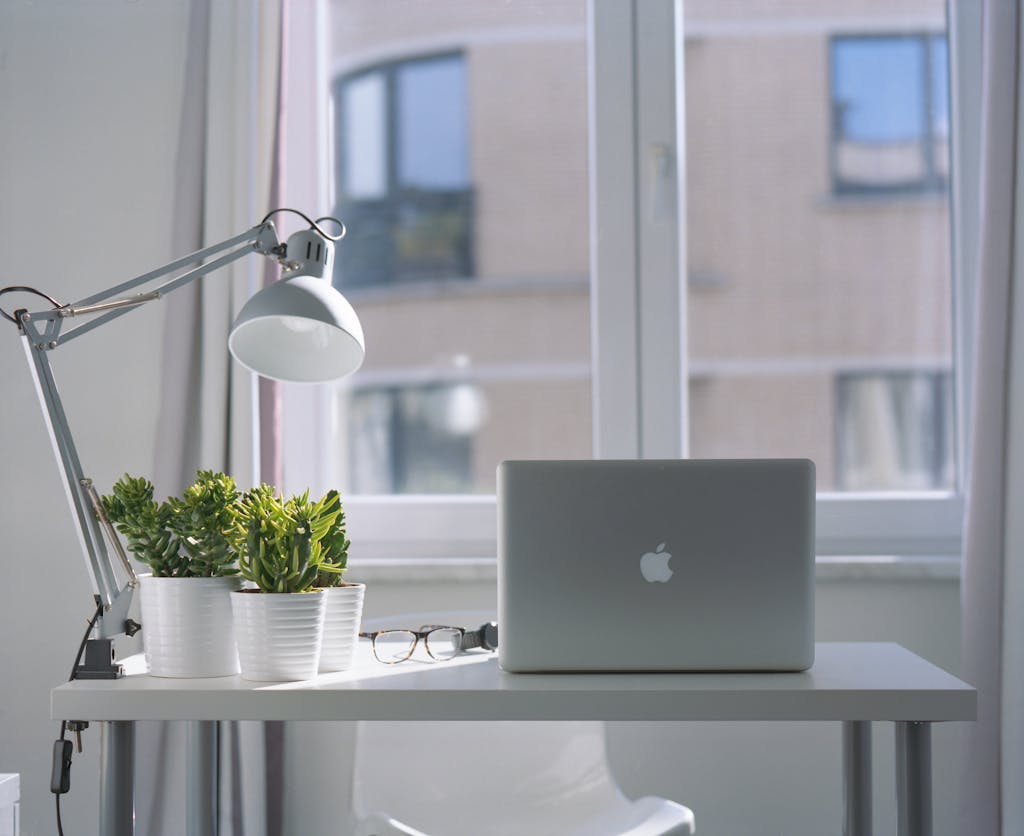
Organize Your Desk and Study Area
- Remove unnecessary papers and items cluttering your workspace.
- Use organizers for pens, stationery, and documents.
- Create a system for important papers (e.g., to-do lists, assignments) to keep your desk tidy.
Let’s be real—our desks can get messy fast with papers, pens and random stuff that gets in the way of getting work done. I’ve been there, staring at a cluttered space and wondering how to tackle it! But trust me, organizing your desk can turn it into a productivity paradise.
First, clear everything off your desk. Yes, everything! I once found receipts from months ago and a stray sock hiding among my papers. Getting everything off gives you a fresh start and a chance to see what you really need. Once everything is off, take a minute to wipe down the surface. A clean desk is key to being productive!
Now, let’s get organizing. Invest in desk organizers for your pens, paperclips and other supplies. Even a simple cup can keep your pens tidy and within reach. I recommend setting up a few different containers for different supplies. This will help you find things fast and add some style to your space.
Now, let’s talk about those papers. Create a simple system to manage your to-do lists, assignments and documents. I like to use a three folder system: one for urgent tasks, one for upcoming deadlines and one for completed projects. Color-coding these folders makes them even more fun and easy to navigate. A wall-mounted organizer is also a great option for keeping important papers within reach without cluttering your desk.
And finally, maintain it. Set a reminder to declutter weekly or take a few minutes at the end of each day to put everything back in its place. This simple habit will keep your space tidy and from becoming a clutter monster.
Organizing your desk isn’t just about being tidy; it’s about creating an environment that allows you to focus and be creative. With a clean and organized space you’ll be able to concentrate and get more done. So, clear that desk and get productive!
Tackle the Floor Space
- Clear the floor of any items that don’t belong (shoes, laundry, bags).
- Use bins or baskets to store items that tend to pile up.
- Consider a hamper for dirty clothes to keep the floor clutter-free.
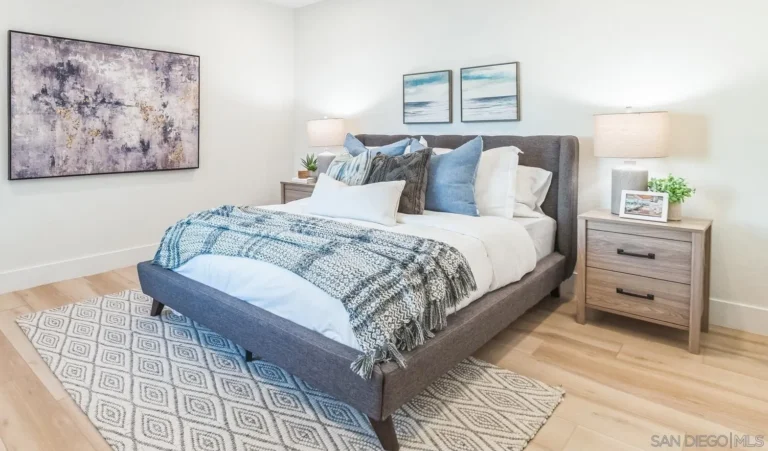
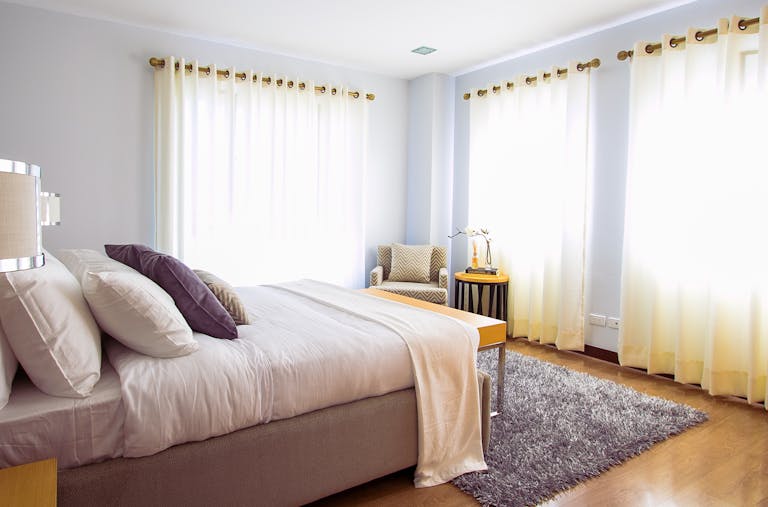
Manage Your Shelves and Surfaces
- Group similar items together (books, decor, tech gadgets).
- Use decorative boxes or bins to keep small items organized.
- Regularly rotate decor to keep the space feeling fresh and inviting.
If your shelves and surfaces are feeling cluttered and chaotic, you’re not alone! I’ve been there, staring at a mishmash of books, decor, and random items that seem to multiply overnight. But managing these spaces can transform your home into an inviting oasis.
Start by grouping similar items together. Whether it’s books, decor, or tech gadgets, having similar items in one place not only makes things easier to find but also creates a cohesive look. I used to have a disorganized bookshelf, but once I separated my fiction from cookbooks and gave my plants a special spot, it felt like I had a whole new library!
Next, utilize decorative boxes or bins to keep small items organized. I love using stylish containers to house everything from charging cables to notebooks. One of my best finds was a chic wicker basket that neatly stored my craft supplies while adding texture to my decor. This way, your surfaces stay tidy, and your personality shines through!
Regularly rotating your decor is another great way to keep your space feeling fresh. Switching up picture frames and knick-knacks seasonally can breathe new life into a room. I’ve found that bringing out warm tones and pumpkins in the fall, then transitioning to lighter hues in the spring, makes my space feel vibrant and inviting.
Don’t hesitate to let go of items that no longer resonate with you. Clearing out trinkets that had lost their charm lightened my load and made my space more intentional. And remember, a clear surface isn’t just visually appealing; it also fosters mindfulness and creativity.
Managing your shelves and surfaces is about creating a personal, functional environment. By grouping similar items, using decorative storage, rotating decor, and keeping surfaces clear, you can enhance your daily life. So, dive in and transform your space—your future self will thank you!
Create a Maintenance Routine
- Establish daily habits for tidying up (e.g., putting things back after use).
- Set aside time weekly or monthly for a more thorough decluttering session.
- Keep a donation box handy for items you no longer want or need.
If you’ve ever looked around your home and thought, “How did it get this messy?”—you’re not alone! I’ve been there too, staring at a chaotic living room or a cluttered kitchen, wondering how I let things spiral out of control. But trust me, establishing a maintenance routine can make a world of difference in keeping your space tidy and organized.
First things first: daily habits. Developing simple daily routines is key to preventing clutter from piling up. For me, it started with the simple habit of putting things back in their place after I used them. Whether it’s returning the book to the shelf or placing my coffee mug in the sink, these tiny actions can save you from a big mess down the line. I even set a timer for five minutes each evening to do a quick tidy-up. You’d be amazed at how much you can accomplish in just a few minutes!
Next, carve out time for weekly or monthly deep cleaning. I’ve found that setting aside a specific time each week for a thorough decluttering session really helps. Maybe it’s Sunday afternoons or a weekday evening—whatever works best for you! During these sessions, I tackle one area of my home at a time. I’ll sort through my closet one week and then focus on the kitchen the next. This way, it doesn’t feel overwhelming, and I can see real progress over time. Plus, it’s oddly satisfying to watch your space transform!
Another tip? Keep a donation box handy! This has been a game-changer for me. I’ve designated a stylish box in my closet where I toss items I no longer want or need. Whether it’s clothing I haven’t worn in months or gadgets that have lost their charm, having that box there reminds me to be intentional about what I keep. Once it’s full, I take it to my local charity shop, and it feels fantastic to declutter while giving back to the community.
Creating a maintenance routine doesn’t have to be a chore. By developing daily habits, setting aside time for deeper cleaning, and keeping a donation box handy, you’ll not only maintain a clutter-free environment but also foster a sense of calm and clarity in your life. So, roll up your sleeves and start establishing that routine—you’ll be amazed at how much easier it is to keep your space tidy!
Hey! First of all, congrats on deciding to declutter your room! Seriously, that’s awesome. I know it can feel super overwhelming but just imagine turning that mess into a peaceful space where you can truly relax and focus. It’s like giving your space a do over!
And here’s the thing—decluttering isn’t a one and done deal; it’s more like a lifelong journey. Trust me, having a maintenance routine is the secret sauce to keeping your space feeling great. It’ll help you stay on top of things so you can enjoy your peaceful space without the stress of clutter creeping back in.
Comment below! 😊